Opis
Delivery cointains extension zip for OpenCart 2/3 and separate zip for OpenCart 4
NestPay payment method plugin for OpenCart 3+ (OpenCart 2.3+ compatible) and OpenCart 4
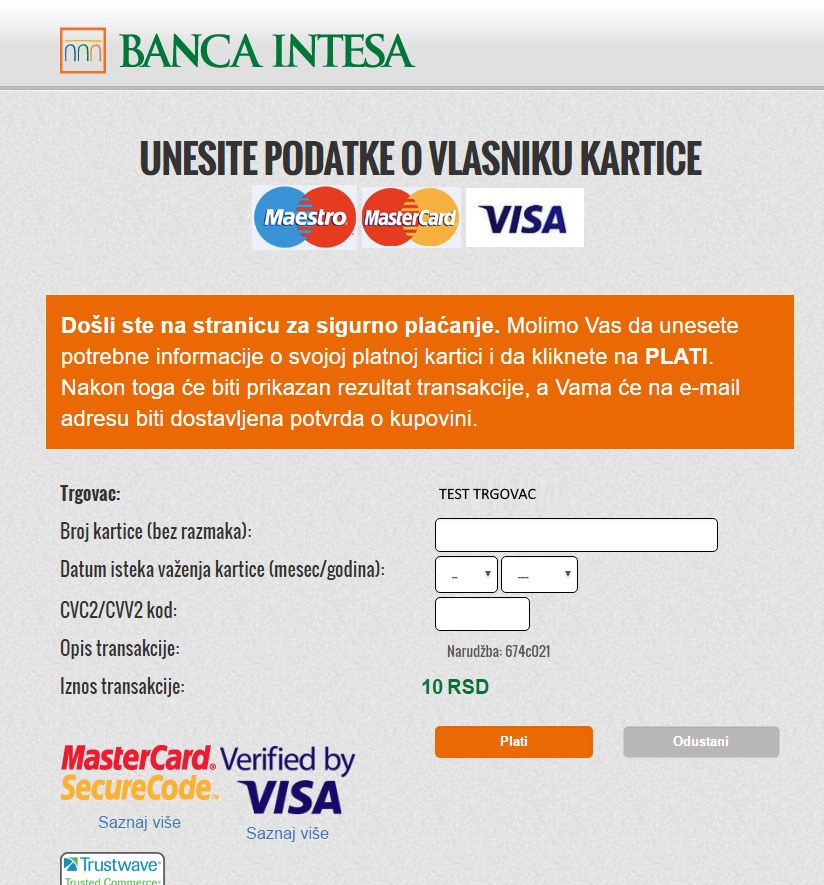
Banca Intesa / Komercijalna banka / Sparkasse Bank/…
Applies to all banks using the NestPay system: Banca Intesa, AIK banka, Unicredit bank, Erste bank, EuroBank EFG, Komercijalna banka, Sparkasse bank …
Known compatible countries: BiH, Croatia, Czech Republic, Italy, Montenegro, North Macedonia, Serbia and Slovenia
The extension is developed for the Banca Intesa „NestPay“ in the Adriatic region/South-Eastern Europe (Serbia, Croatia, BiH…) but it is compatible with the „ASSECO NestPay“ anywhere in the world (you just need to change the gateway URL).
The installation/configuration is easy.
– holestnestpay.ocmod.zip install via Extensions-> Installer, Upload
– Go to Extensions-> Extensions, filter the „Payments“ type. You will find „NestPay payment method by Holest Engineering“ in the list. Click on the pen to enter the settings.
– you will be prompted for an API key when you first access. Enter the key provided by us here.
In WooCommerce Checkout section you’ll see plugin options after activation.
-Enable plugin: yes/no
-Title: This controls the title that user sees during checkout.
-Description: This controls the description which the user sees during checkout. It appears above pay button. You can leave it empty too.
-Bank logo.
-CC logo: the image of supported CC types. The image will be appended to payment method name.
-Refresh exchange rate. NEST PAY usually only accepts local currency. You can use the currencies you want on the site, but if it is not your home currency you must set it in the field: „Pay explicitly in currency“. You can additionally include the option to refresh the exchnage rate and even adjust the correction if the course from our server does not suit you: „Refresh exchnage rate“ and „Conversion rate correction“.
-Language code: Language code is the code for the display language on the bank CC entry page. In test mode it is always English (en). When you go into production, set up this code (2 lowercase letters liek rs, en, bs, hr …).
-Merchant ID: Enter merchant id you got when you signed cotract with your Bank.
-Form submit URL: Form submit URL for pay redirect. Provided by the bank. Make sure to put production URL for real store, not testing one (provided by bank system, example: https://testsecurepay.eway2pay.com/fim/est3Dgate).
-API URL: NestPay API service URL. Provided by the bank. Make sure to put production URL for real store, not testing one (provided by bank system, example: https://testsecurepay.eway2pay.com/fim/api).
Once you get details from bank you need to login to bank Virtual Terminal (Merchant portal) (example: https://testsecurepay.eway2pay.com/bib/report/user.list) and generate „Store key“ and create API user account.
-Store key: Secret generated by you on the merchant portal. If you change it on the merchant portal make sure you update it also in plugin settings. Make sure it is long and involves varius characters. If not complicated enugh transactions could be refused.
-Merchant/API User Name (you generate it on bank merchant portal or use username of the main account). Make sure user account is not in „locked“ status after creation!
-Merchant/API Password (you generate it on bank merchant portal or password of the main account)
-Transaction type: usually you can’t choose and a bank will tell you what to use. Authorization is for instant CC charge. Pre-Authorization reserves money on CC and you need to do „Capture“ action later to actualy charge CC. Pre-Authorization is for example used for hotel reservations.
-Store type: bank staff will tell you. In parctice its always 3d_pay_hosting.
„Cancel url“ gives you the option to explicitly set up a return link to your site if the customer cancels his payment.
„Payment success order status“ / „Payment failed order status“ – here you define the statuses in which to put order after successful / unsuccessful payment
-Plugin API key: Plugin API key (provided by us).


